
Reports Dashboard Intro, Filtering, and Scheduling
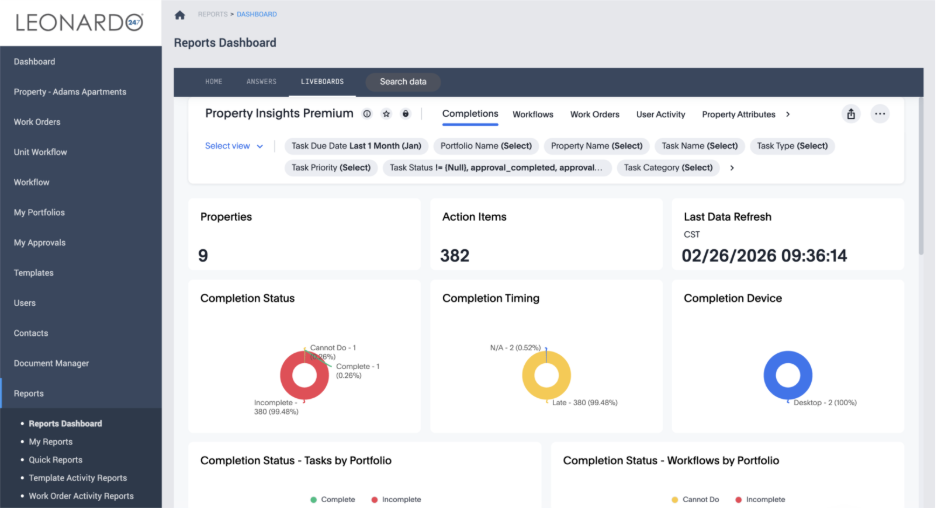
Reports Dashboard provides a live view of your Leonardo247 data through charts, tables, and visualizations. The dashboard updates frequently and reflects the latest activity in your account.
Reports Dashboard
Reports Dashboard provides a live view of your Leonardo247 data through charts, tables, and visualizations. The dashboard updates frequently and reflects the latest activity in your account.
To access the Reports Dashboard, navigate to Reports. The Reports Dashboard appears by default.
Using Filters
Filters allow you to narrow the dashboard data to a specific property, time period, or workflow.
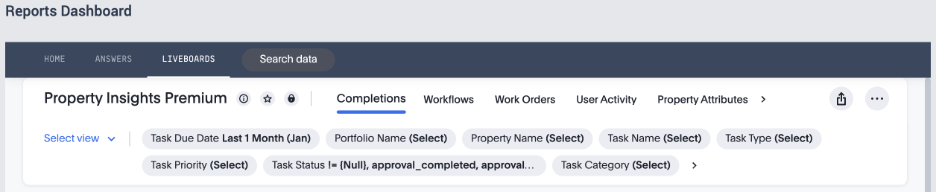
To filter the Reports Dashboard, follow these steps:
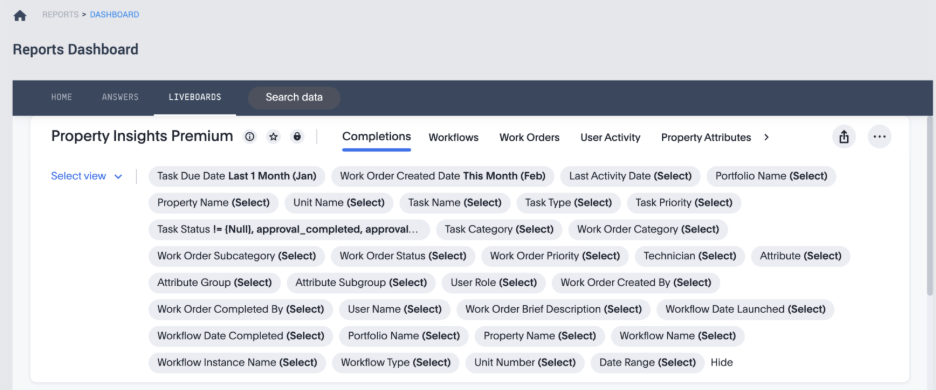
- Click the arrow at the end of the filter list to expand additional filters.
- With the filter list expanded, select the filter you want to set. Property Name is a good place to start.
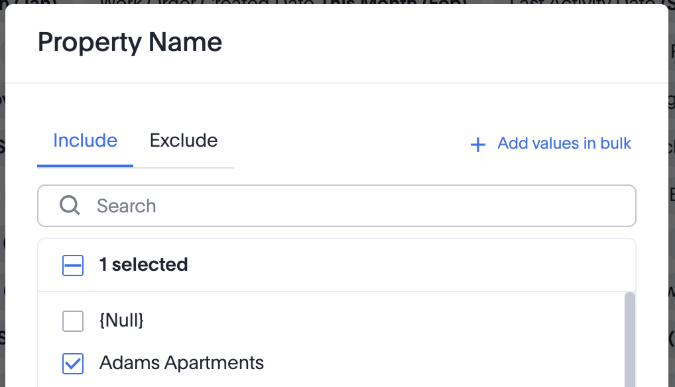
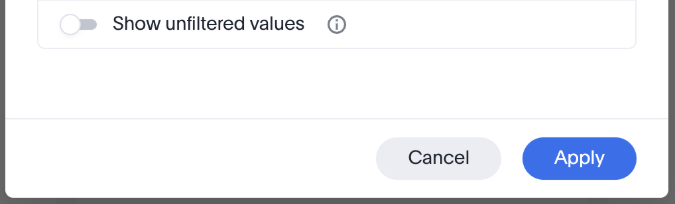
- Once you’ve selected a filter, you’ll be prompted to include or exclude a set of filter values.
- Select the values you would like to include, or exclude, then click Apply.
After a moment, the Reports Dashboard refreshes and displays only the filtered data.
Scheduling Reports Dashboard Deliveries
You can also schedule automatic deliveries of the Reports Dashboard.
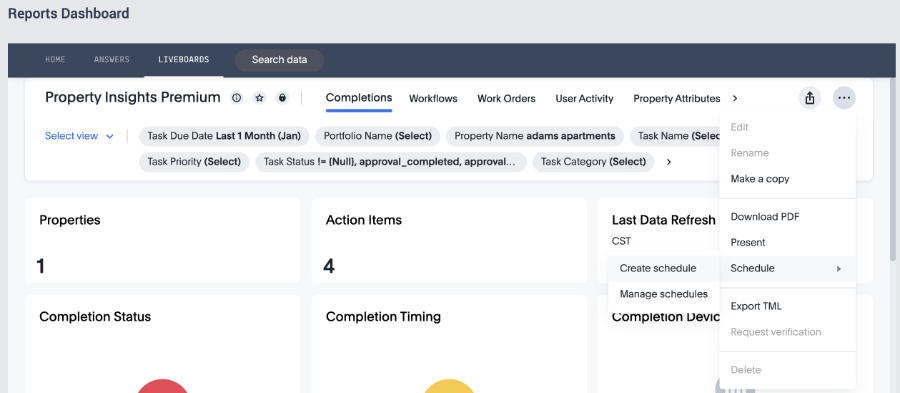
- Click the three-dot menu in the top-right corner of the Reports Dashboard.
- Click into Schedule, then click ‘Create Schedule’
- From there, set your delivery interval by selecting the frequency, time, and days of the week for the dashboard to be delivered.
- Select the attachment type (PDF, XLSX, or CSV).
- Add the recipients to the schedule.
- Confirm the View Name and Filters are set correctly for the recurring report you would like delivered.
- Click the blue Create button at the bottom right.

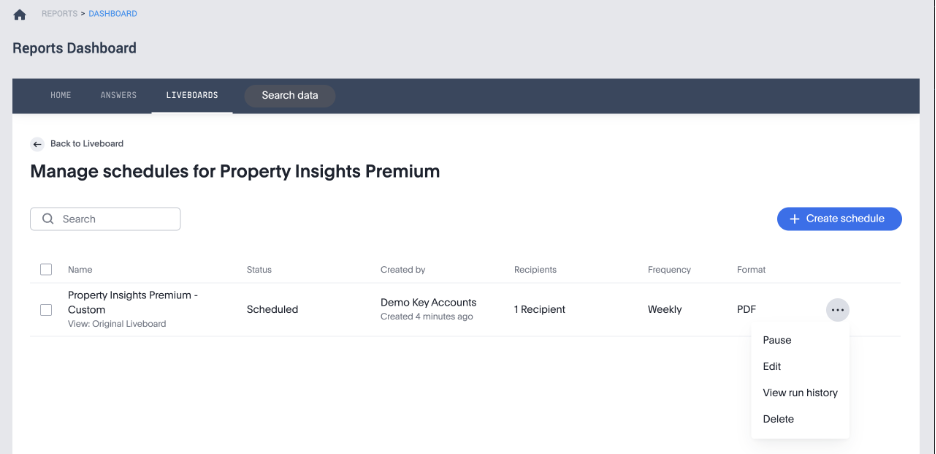
Managing Scheduled Deliveries
- Once you’ve created a schedule, you can edit it or update it.
- Click the three-dot menu at the top right of the Reports Dashboard.
- Click Schedule, then select Create Schedule.
- Click the three-dot menu to the right of the Scheduled Report you want to modify.
- Check the boxes next to multiple schedules if you want to delete or pause multiple created schedules at once.
- From there you can Pause, Edit, View run history, or Delete the schedule.
Next Steps
- Try filtering the Reports Dashboard for your property.
- Set a weekly email to your team.
- Explore additional filters.